DIY: Ceiling Fans
Be it in the summer or winter, ceiling fans are an economical way to maintain the temperature in a room. If you’re looking to replace an old one, here’s how you can do it yourself!
Gather your materials and tools. You will need:
A new fan
Screwdriver
Voltage tester
Ladder
Wire cutters
Wire caps
A friend
Before you get started. You need to locate your ceiling outlet. If the room does not have one, we recommend that you call a professional to assist you.
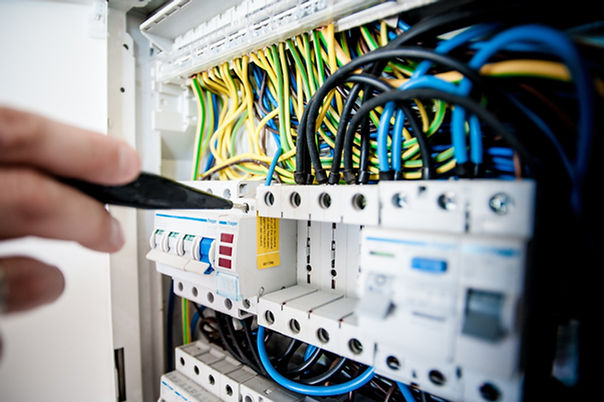
Safety first! You must also take preventative safety measures. This includes making sure that the circuit breaker box is turned off and clearing the work site of any safety hazards. Use a voltage tester to be extra sure that there is no power running through the ceiling fan.
Planning. Consult this guide to determine the most appropriate placement for your ceiling fan.

(photo courtesy: delmarfans)
Uninstall the old fan. Use the screwdriver to unscrew the screws holding the fan up. This is where having your friend will help. You’ll need someone to support the base of the old fan as you loosen it from the ceiling.
Install the ceiling bracket. Now that the old fan is completely off, it’s time to come in with the new one. Screw in the ceiling bracket and pull the wires through the middle hole.
Assemble your new fan. Different fans come with different instructions, so carefully follow the manufacturer's instructions and assemble the fan.
Hook in the fan. Attach the fan to the ceiling and match the wire accordingly (consult the manufacturers guide for assistance). Tightly secure the connections using wire caps.
Finishing touches. Tuck in any loose wires and fix the fan into place. Screw in the blades, and adjust the switch housing. Now you can finally….
Turn on the fan. Screw in the cover plate, turn on the switch, and you should now have a new ceiling fan!
Need help installing a ceiling fan or locating a ceiling outlet? Call Butler Electric for assistance.


